This article describes how to install the JCH Optimize extension for Joomla! For more information about JCH Optimize, see What is the JCH Optimize extension for Joomla!
Downloading the installation file
Open the JCH Optimize download page in your web browser. If you’re installing the free edition, click Free to download the compressed (.zip) installation file. If you’re installing the Pro edition, click Pro and follow the directions to buy and download the Pro compressed (.zip) installation file.
Installing JCH Optimize
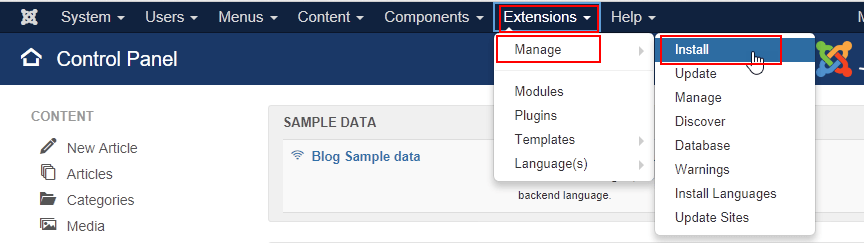
Log in to your Joomla! administrator back-end and go to Extensions > Manage > Install.
On the Upload Package File tab, drag the compressed (.zip) installation file you downloaded from the JCH Optimize download page to the upload area. JCH Optimize is automatically installed after the file is uploaded.
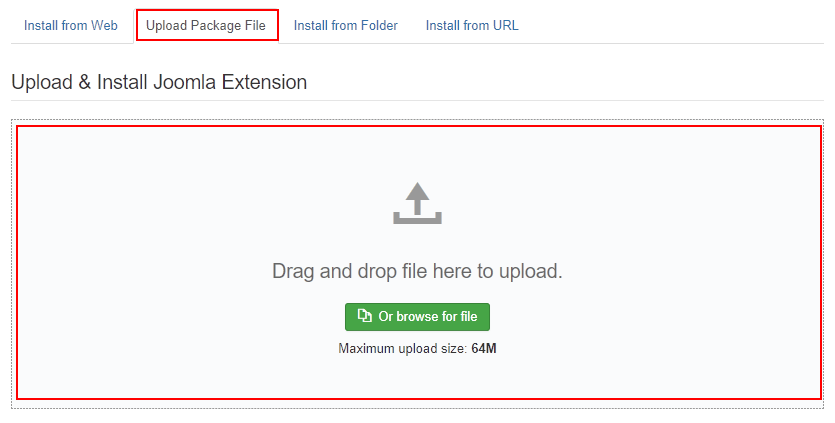
When installation is finished, you’ll see a message that the installation was successful.

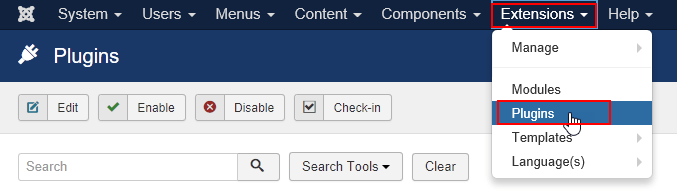
Next, go to Extensions > Plugins.
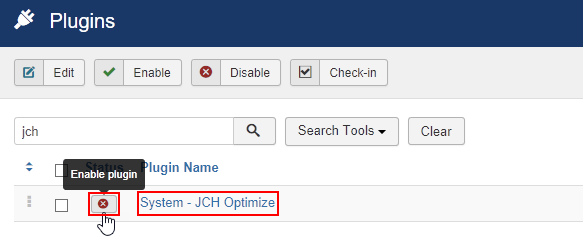
In the plugins list, find System – JCH Optimize and click Enable plugin.
Setting up JCH Optimize
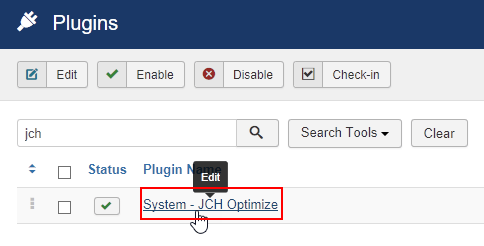
When the plugin is enabled, click System – JCH Optimize to edit the settings.
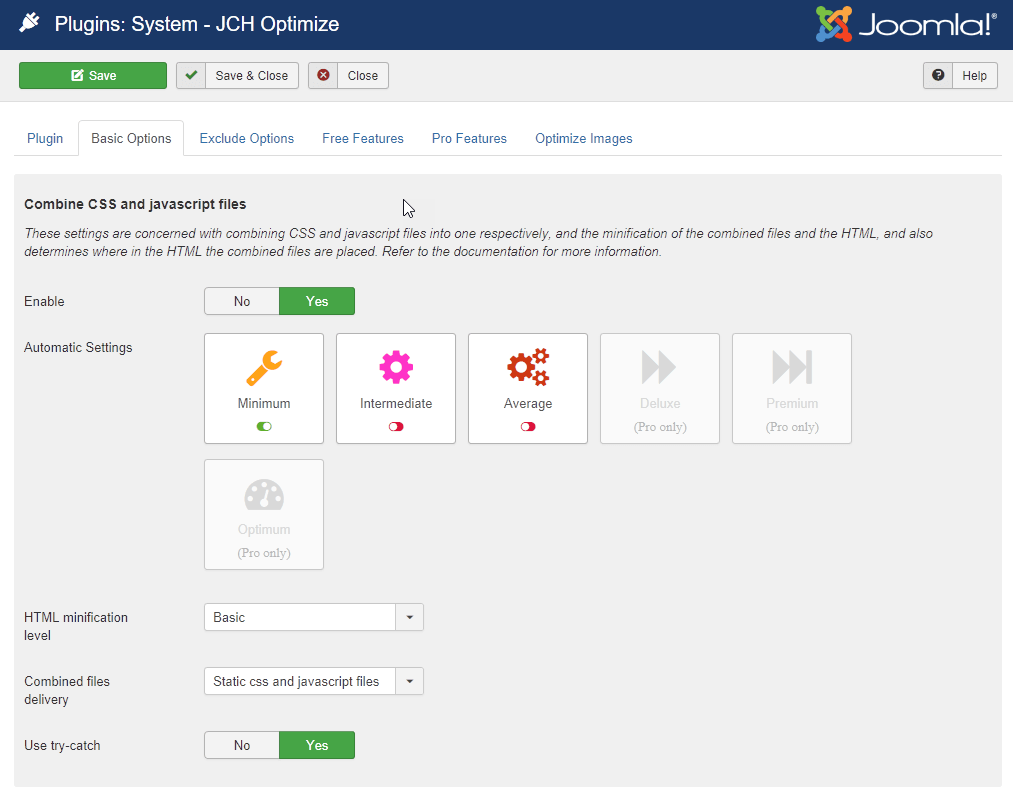
Review the settings on the Basic Options, Exclude Options, Free Features, Pro Features (if applicable), and Optimize Images tabs and make the changes you want for your site. Visit the JCH Optimize documentation website for information about each setting.
Click Save & Close when you’re finished.
More information
For more information, see What is the JCH Optimize extension for Joomla! and What are Joomla! extensions, components, modules, and plugins in the HostPapa knowledge base.
If you have any questions or need help, you can always contact HostPapa Support by opening a support ticket. Details about how to open a support ticket are here.
