HostPapa offers an easy-to-use, automated cancellation process so you can cancel any of your services, hassle-free.
Before following the automated cancellation process, please read our Refund and Cancellation Policy.
Once every aspect is clarified, please follow these steps:
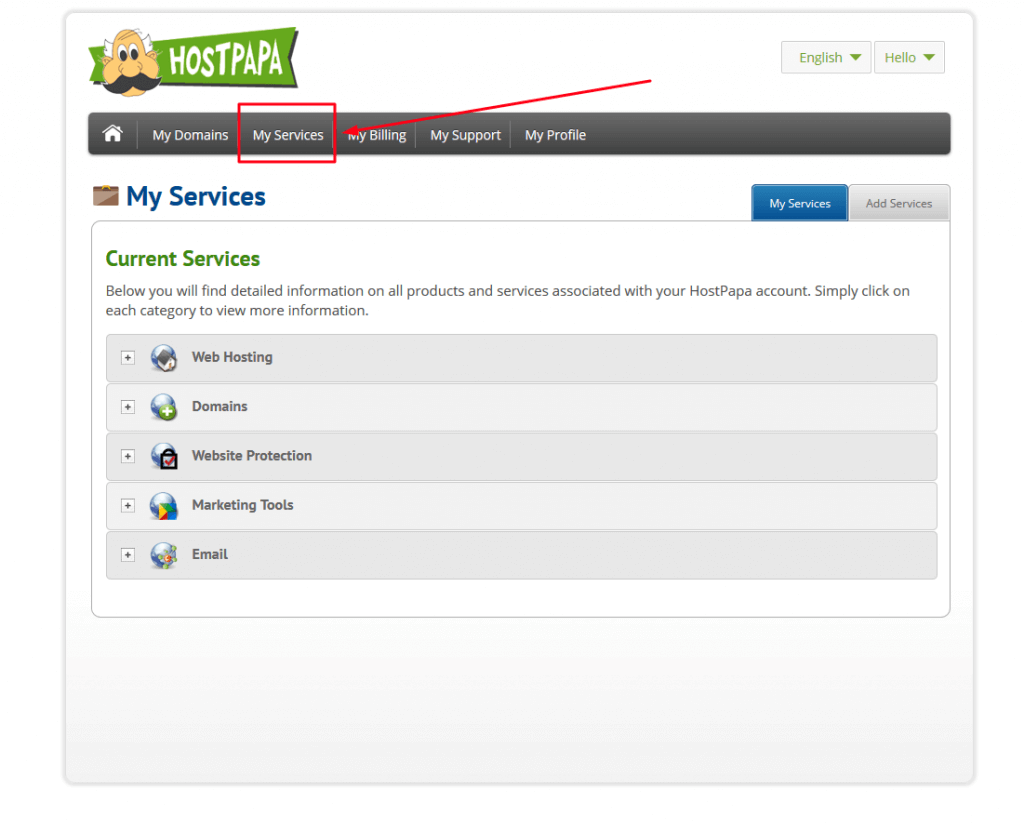
- Log in to your HostPapa dashboard.
- Click on My Services.
Click on “+” to expand the service category.
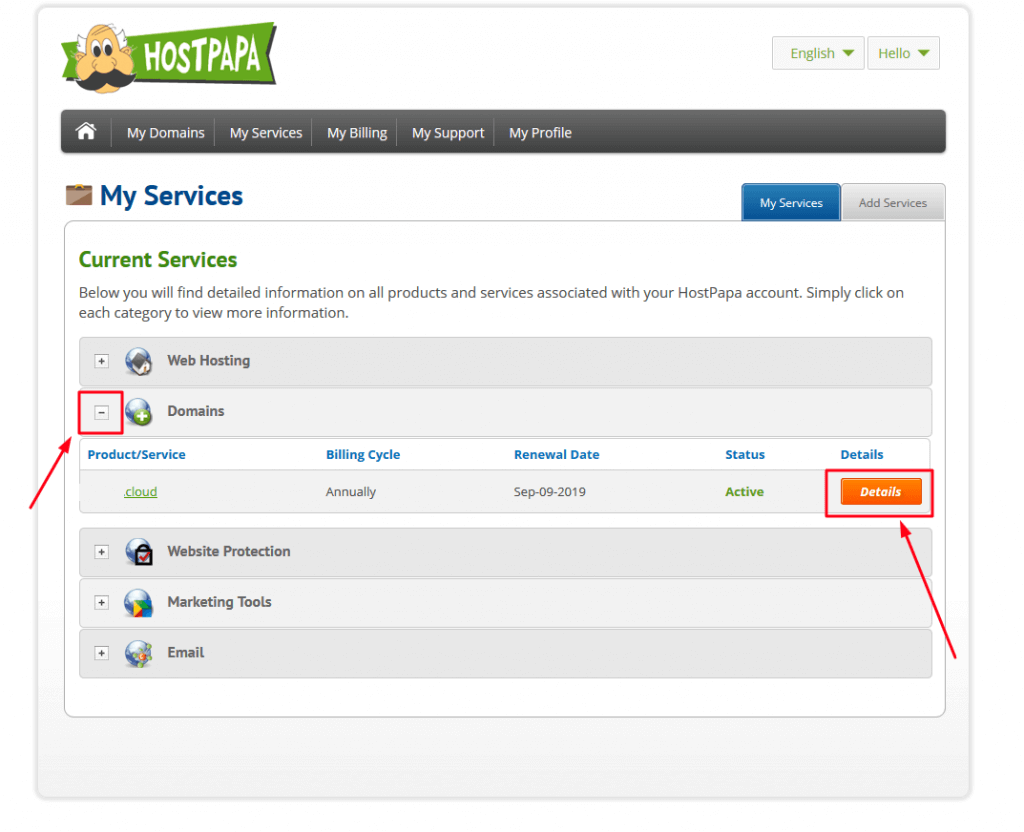
4. Click Details. In this tutorial, we will show an example of a domain service cancellation:
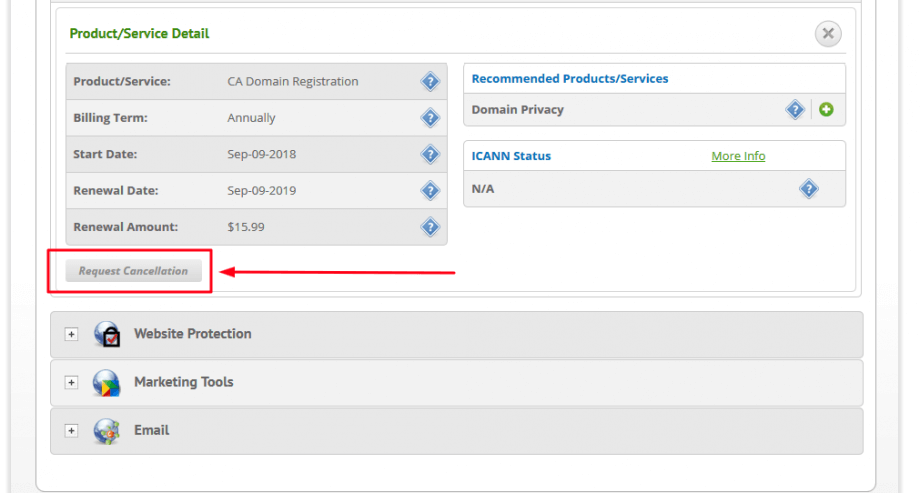
5. Click Request Cancellation to open the cancellation form.
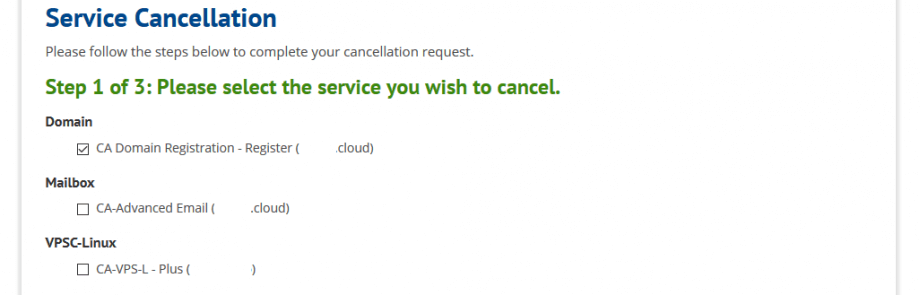
6. Fill out the form and check boxes for the services you would like to cancel. By default, the initial selected service’s box is checked.
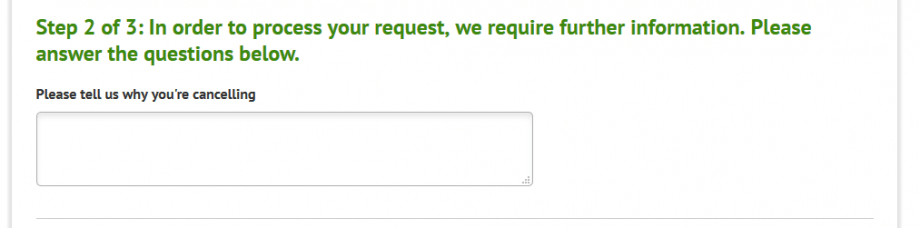
 7. Please provide us with the reason for the cancellation request. Your feedback is very important for us as it helps us improve our services.
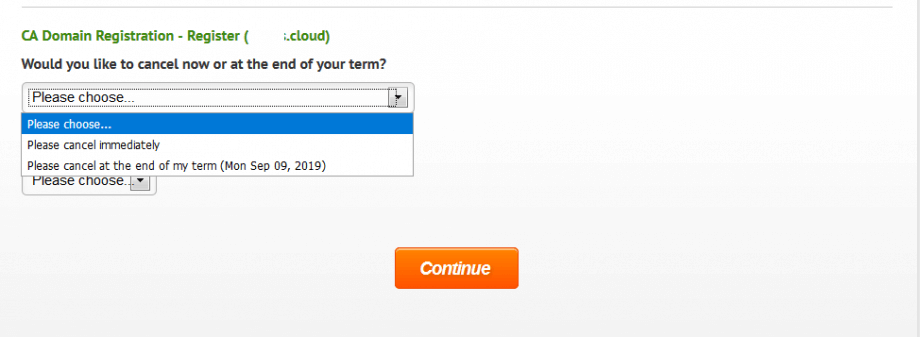
 8. Choose when you are cancelling the services between one of these two options:
- Immediately
- At the end of the term
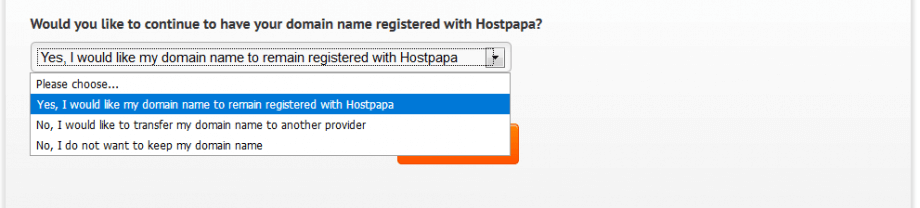
 9. If you wish to transfer your domain to a different provider, please choose “Yes”. If you no longer need the domain name, please choose “No” and your domain will be left to expire.
Note: When cancellation is requested for a hosting service, there is a third option regarding domain names: “Yes, I would like my domain name to remain registered with HostPapa”.
 10. Click Continue.
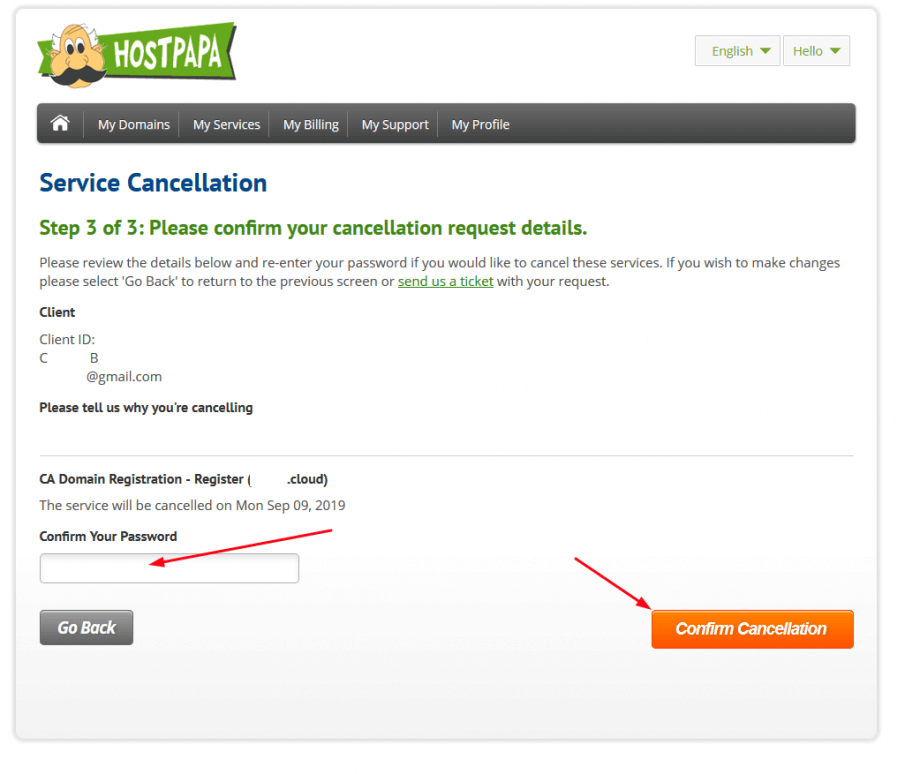
11. Review the cancellation form, enter your Dashboard access password, and click on Confirm Cancellation.
 12. Once you see the confirmation message, the cancellation is complete.
To learn about cancelling a HostPapa service before your contract term is up, please read our Knowledge Base article: Can I cancel my account in the middle of the contract term?
If you change your mind about cancelling, or if you need help with your HostPapa account, please open a support ticket from your dashboard.
